How to Build and Deploy our Web Application
Build
The project has a build.xml file, that is the task configuration file for Ant and that we use to build the application.
Make sure you edit the file
build.propertiesand change the propertytomcat.hometo match the tomcat in your system.Add the Ant View window to Eclipse going to the menu
Window->Show View->Ant.From the Ant View click the first button/icon Add Buildfiles and choose the
build.xmlinside your project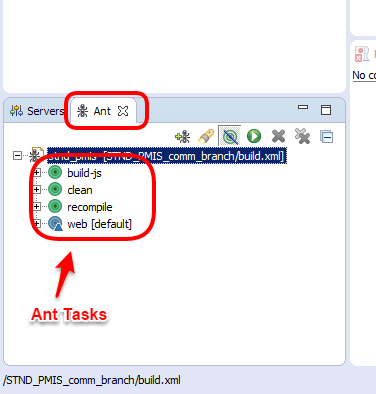
Depending from the option ‘Hide Internal Targets’ you will see several tasks. What we need are:
build-jsandweb.If build.properties is correct after you click the web task, Ant will start copying all the compiled java classes with all the rest of the files inside a new folder named ‘build’ under your project.
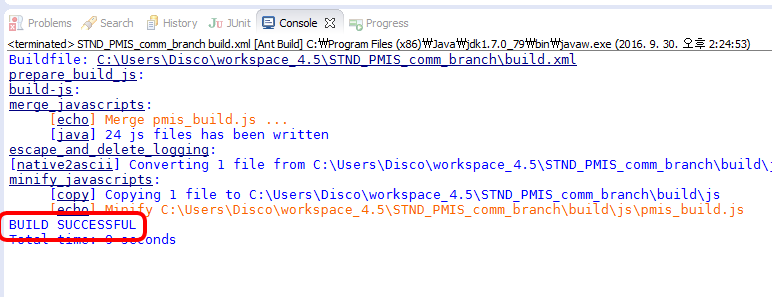
When Ant has finished the task execution, you will see a new folder build/web,
this folder contains the final web application that should be deployed to the server.
Deploy
Always stop the Web Application Server (Tomcat) First!
To deploy the application use WinSCP and not other tools like Filezilla or any other ftp tools just W I N S C P.
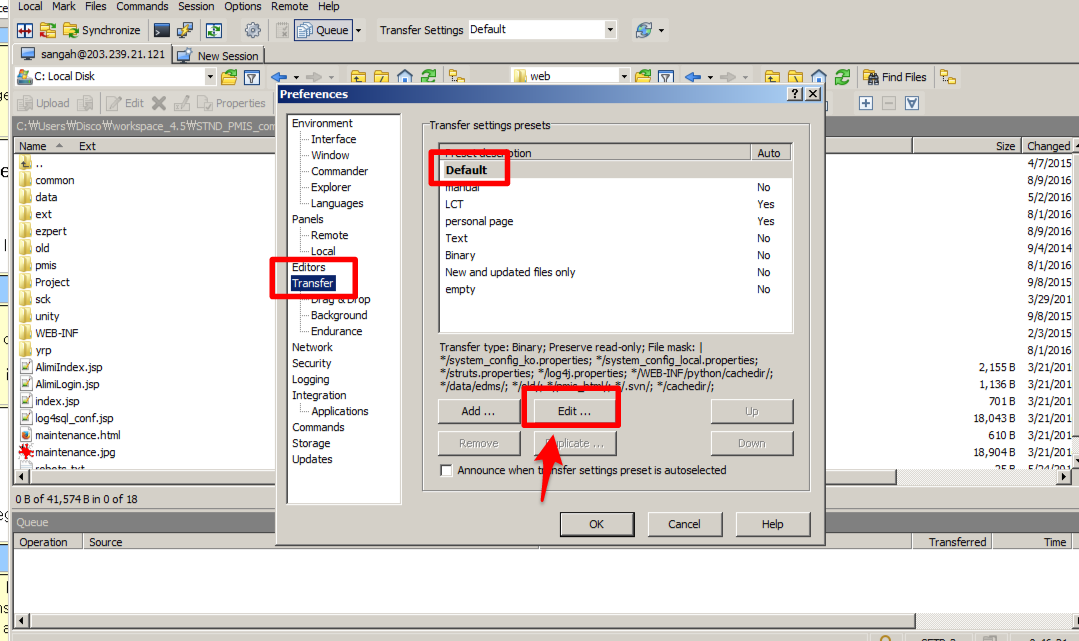
Open WinSCP go to
Options->Preferences->Transfer, selectDefaultas preset and click onEditand againEdit.In the exclude files section add the following lines:
*/system_config_ko.properties
*/system_config_local.properties
*/struts.properties
*/log4j.properties
In the exclude directories add the following lines:
*/WEB-INF/python/cachedir
*/data/edms
*/old
*/pmis_html
*/.svn
*/cachedir
*/ckeditor-dev
*/src
*/.git
As a final touch uncheck
Calculate total sizefrom Common options in the Transfer settings window, we don’t need it and takes too long. Click OK and we finished setting the mask for synchonize our project.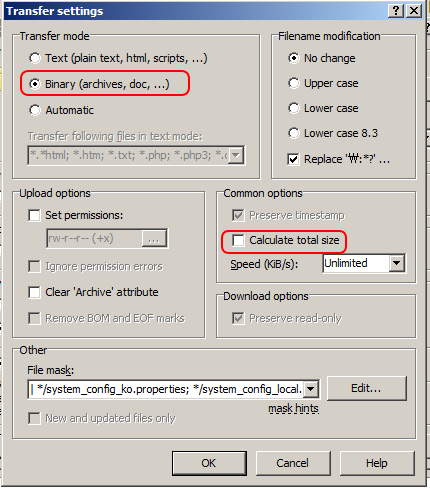
IMPORTANT before deploying the web folder always check that the Transfer Settings at the top of the application says
Defaultas the selected mask.On the left select the build/web folder on your computer
On the right select the project web folder on the server
Click the button
SynchronizeChoose
Remoteas Target DirectoryChoose
Mirror Filesas ModeChoose
Modification timeas Comparison criteria.Choose
Preview changesunder Synchronize options.And finally check the box
Use same options next timeso you don’t have to go through 7~10 again next time.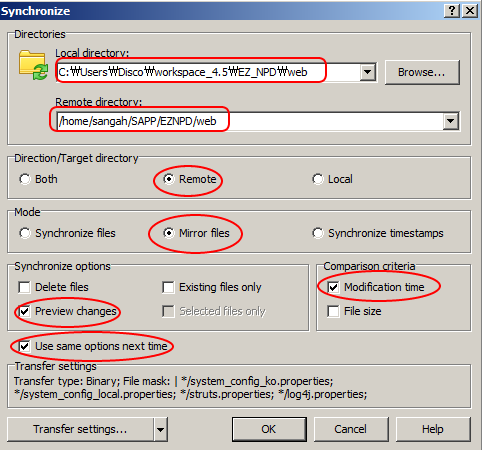
Click OK and a new window Synchronization checklist show up, check what files are going to be updated, deleted.
Click on
Check alland then OK, the application will do his job and its done.You can start again the Web Application Server (Tomcat).
What is build-js task?
We have lots of javascript files! And the users can not load 30 files every times he change menu! Moreover our servers can not handle 30 requests per user every time he change page.
So what build-js task does is compressing lots of javascript files into one file pmis_build.js,
reducing requests per user so we should have more happy users and more happy servers.
If you execute this task you will find the final file inside the folder build/js.
Now take in consideration that if you execute the web task you do NOT need to execute build-js,
because the web task will execute the build-js task anyway.
But if for some situation you just want to compress our javascript libraries then feel free to run the build-js task only,
and make sure you copy this file inside the folder ext/script inside the web folder of the application on the server machine.
Important
As a side note to make this task really useful make sure the system property system.devmode is false.
Important
Always change the build.properties file with the correct Tomcat directory before running Ant tasks